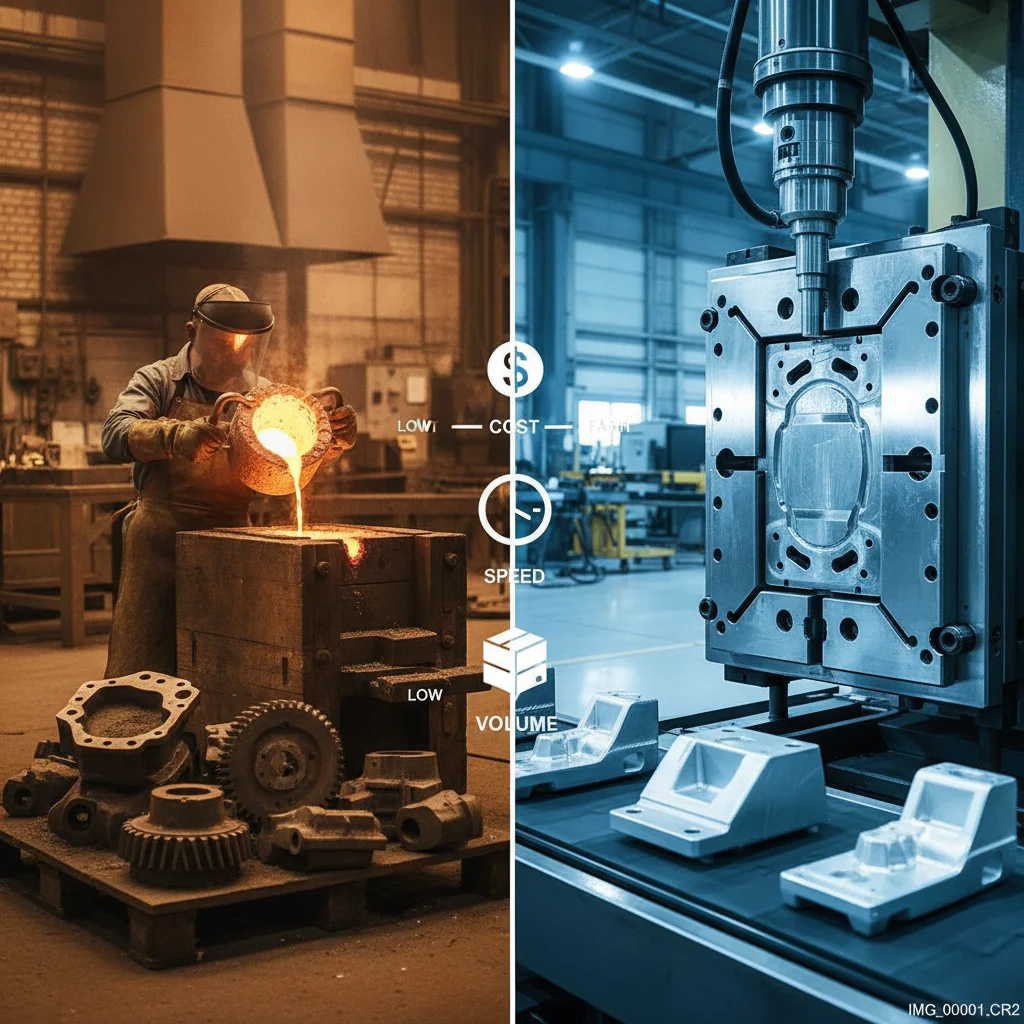
Pick the wrong casting process and your project pays for it. You’ll blow your budget on tooling you never needed, or end up with parts whose surface finish doesn’t meet spec. That’s a costly mistake either way.
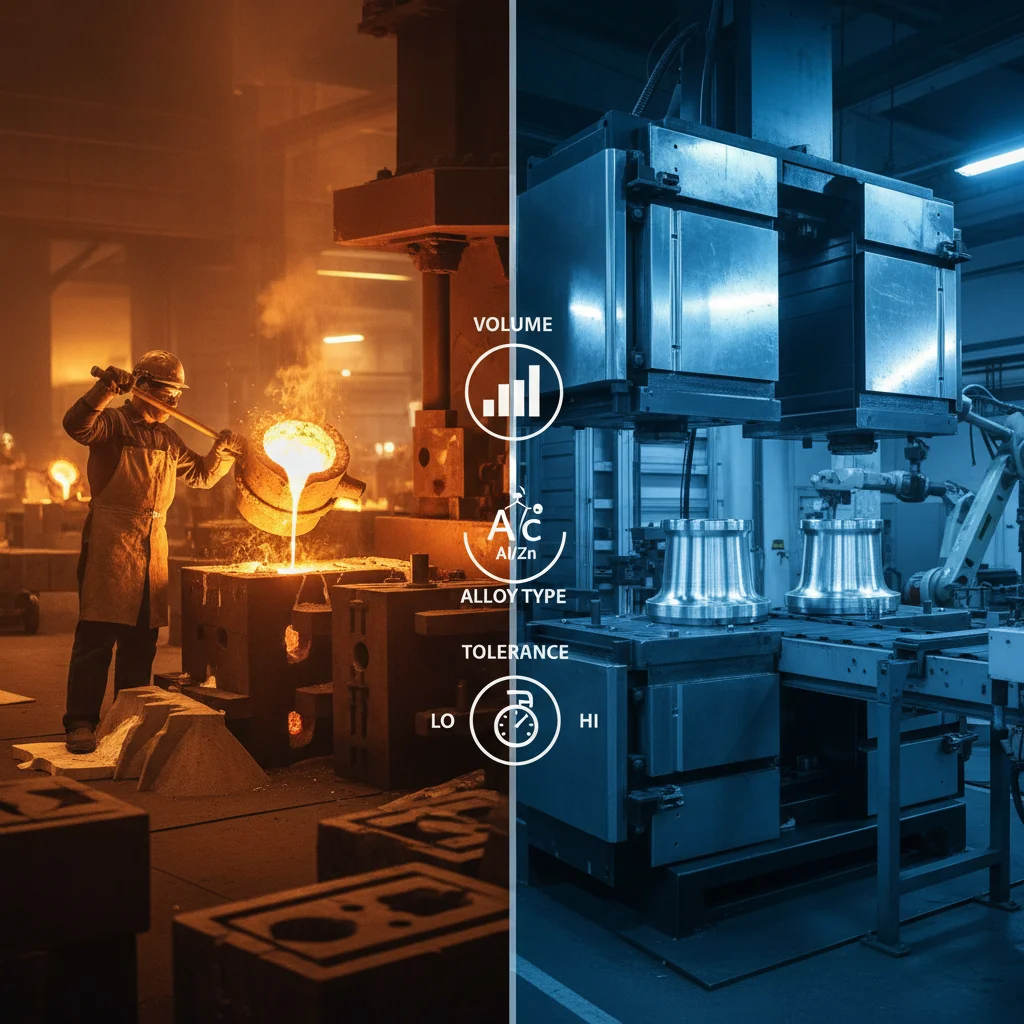
Sand casting and Die casting aren’t just two technical options — the choice between them shapes your costs, your timelines, and what your finished part looks like.
Both methods pour molten metal into a mold. But that’s where the similarities end. Almost everything else about them is different.
This guide breaks down how each process works, where each one performs best, and the key factors that should drive your decision.
What Is Sand Casting? (Process Mechanics Explained)
Sand casting is one of the oldest casting manufacturing processes ever invented — and it still leads metal production today for good reason.
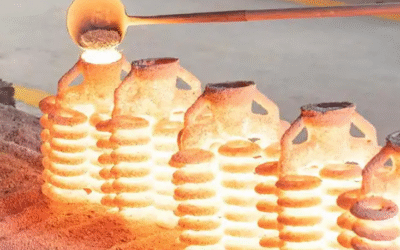
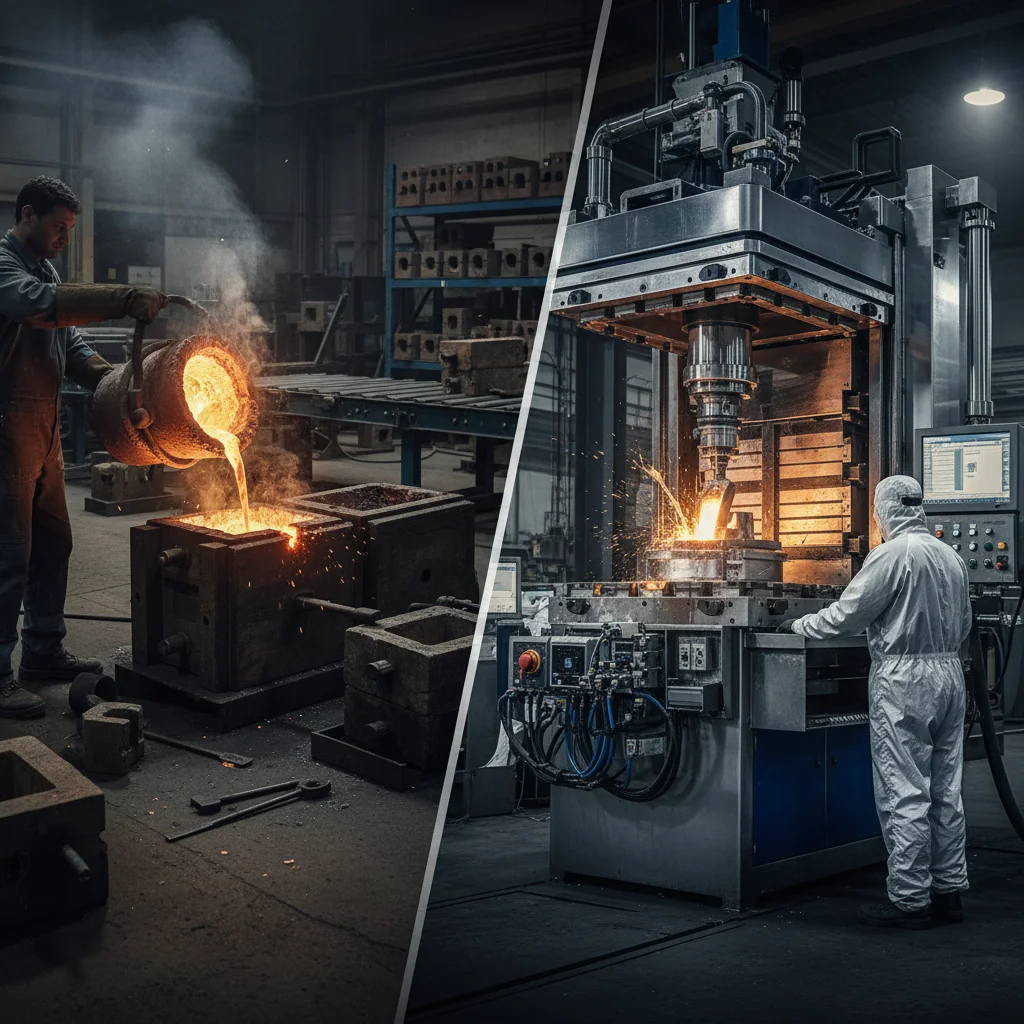
The core mechanic is simple. You pack sand around a pattern, pull the pattern out, then pour molten metal into the cavity left behind. Let it solidify, then break the mold apart to get your part. The mold is destroyed every single cycle. That’s not a flaw — it’s the design.
How the Process Works
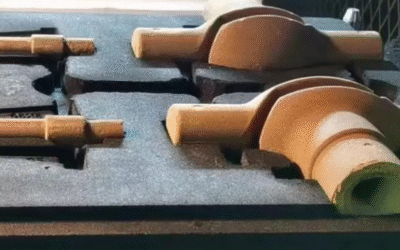
Step 1 – Make the pattern. Patterns are wood, plastic, or aluminum. They’re made oversized — 1–2% larger — to account for metal shrinkage during cooling. Vertical walls get draft angles of 1–3° (green sand) or 3–5° (dry sand). This lets the pattern pull free without disturbing the packed sand.
Step 2 – Build the mold in two halves. The bottom half is the drag. The top half is the cope. Workers pack each half separately, then assemble them together. Sand gets rammed to density. Gating channels are cut. Risers — metal reservoirs that feed the cavity as shrinkage occurs — go into the cope. Alignment pins keep everything square.
Step 3 – Insert cores, close the flask, pour. Sand cores handle internal voids and hollow sections. Once assembled, molten metal flows in by gravity from a pouring basin. Flow rate matters — push it too fast and turbulence defects follow.
Step 4 – Cool, shake out, finish. Cooling time depends on alloy type and part mass. Aluminum cools faster than iron. After shakeout, workers cut the gates and risers, then grind down the parting lines.
What Alloys Work Here?
A wide range. Sand casting handles ferrous metals (Gray Iron, ductile iron, steel) and non-ferrous alloys (aluminum, copper, bronze, brass). The size range is broad too — from small brackets up to parts exceeding 100 kg.
Dimensional tolerance lands at ±1–2mm. Surface finish quality ties to sand grain size: finer grain gives a smoother surface. A 100–200 AFS grain range is the standard starting point for most applications.
What Is Die Casting? (Process Mechanics Explained)
Die casting trades simplicity for precision — and it delivers.
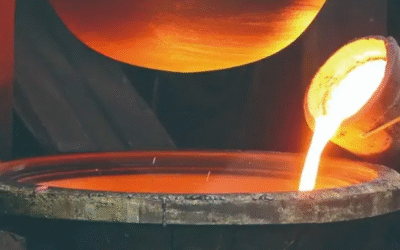
Sand casting relies on gravity and packed granules. Die casting works differently. It forces molten metal into a hardened steel mold under extreme pressure — 1,000 to 20,000 PSI. You get parts with tight tolerances, smooth surfaces, and consistent geometry, cycle after cycle.
The mold is the first major distinction. Dies are machined from steel or aluminum using CNC equipment guided by CAD designs. Each die is built to handle thousands of injection cycles without warping. That’s a big upfront cost — but it pays off at high volumes.
The Six-Stage Sequence
Stage 1 – Die creation. CAD-designed, CNC-machined, built for heat and pressure. No guesswork here.
Stage 2 – Die preparation. Workers coat the interior surfaces with lubricant. The die is preheated to help metal flow and prevent thermal shock.
Stage 3 – Metal injection. Molten metal is pushed into the die cavity at sustained high pressure. That pressure stays on through solidification — and that matters. It stops uneven shrinkage and keeps parts from warping.
Stage 4 – Cooling and solidification. Water-cooling systems draw heat out of the die in fractions of a second. How long this takes depends on wall thickness, part shape, and alloy type.
Stage 5 – Part ejection. Ejector pins push the solid casting out of the mold. Robotic arms handle this step in automated setups, keeping things fast and consistent.
Stage 6 – Finishing. Saws or trim dies cut away sprues and flash. After that, parts go through deburring, powder coating, painting, or CNC machining — whatever the job calls for.
Hot Chamber vs. Cold Chamber
Not all die casting machines work the same way.
Hot chamber systems keep the injection unit submerged in molten metal. Pressure runs 7–207 MPa. Cycle times are fast, but you’re limited to low-melting-point alloys — zinc, magnesium, lead.
Cold chamber systems ladle molten metal into a separate injection chamber before each shot. Pressure reaches 140 MPa. This setup handles aluminum and other high-temperature alloys that would damage a hot chamber machine.
Typical Alloys
-
Aluminum — the most widely used option; lightweight with strong mechanical properties
-
Zinc — flows well and holds fine detail with ease
-
Magnesium — the lightest structural metal you can use
Minimum wall thickness sits at 5 mm (0.2 inches). Parts thinner than that need a different process.
Mold & Tooling: Disposable Sand vs. Reusable Steel Dies
The mold is where the real cost decision lives — and it splits these two processes apart.
Sand casting uses a mold you destroy. Every single cycle, the sand breaks away, shakes out, and gets discarded. The pattern used to create it — wood, resin, or metal — survives, but the mold itself doesn’t. That sounds wasteful. It isn’t. Mold cost is so low it barely shows up on a small-batch budget. For runs under 100 pieces, you’re not paying for tooling — you’re paying for metal and labor.
Die casting works the opposite way. The mold is a steel die, machined to tight tolerances. It’s built to handle 100,000+ injection cycles without losing its shape. That kind of durability costs real money upfront. But every part you pull from that die eats into the tooling cost. Hit 10,000 pieces, and the math swings hard in die casting’s favor.
There’s a second difference worth knowing: flexibility. Sand molds are easy to adjust. Change the pattern, pack new sand, and you’re back in production. Steel dies are a different story. Need to make a change? That means machining time, added cost, and sometimes scrapping the die altogether. Die casting works best with finalized designs. Sand casting handles iteration without much pain.
|
Sand Casting |
Die Casting |
|
|---|---|---|
|
Mold material |
Sand (disposable) |
Hardened steel (permanent) |
|
Mold lifespan |
Single use |
100,000+ cycles |
|
Tooling cost |
Low |
High |
|
Cost advantage |
< 100 pieces |
> 10,000 pieces |
|
Design flexibility |
High |
Low |
Pick based on volume and design stability — not preference.
Surface Finish & Dimensional Accuracy Compared
The numbers tell a blunt story. Die casting produces surface roughness of Ra 1–2 μm. Sand casting lands at Ra 12–25 μm. That’s not a small gap — it’s a 10x difference in smoothness. You can feel it the moment you hold both parts.
Dimensional tolerance follows the same pattern. Die casting holds ±0.05 mm. Sand casting delivers ±0.25 mm. Need die casting precision from a sand cast part? Plan for five times more post-machining work to close that gap. That labor adds up fast.
Wall thickness is where the split gets sharp. Die casting handles walls as thin as 0.5 mm. Sand casting needs at least 3 mm to fill with consistency. For compact, lightweight parts with fine geometric detail, die casting isn’t just better — it’s often the one practical choice.
One detail worth knowing: coatings matter inside the die. Coated molds produce Ra values 2.5x lower than uncoated surfaces. That one variable pulls finish quality up — no other process changes needed.
Sand casting’s rougher output isn’t a flaw. For large structural parts where surface looks are secondary, the finish is more than good enough. Post-machining can tighten tolerances where the job calls for it.
Bottom line: Your part needs a smooth out-of-mold finish and tight dimensional control? Die casting is the clear answer.
Material Compatibility: Which Metals Work With Each Process?
Metal selection matters more than most people think. It often decides which Casting process makes sense before anything else does.
Sand casting covers a wide range. Ferrous metals — gray iron, Ductile Iron, and carbon steel — all fit naturally here. Non-ferrous alloys do too. Aluminum, copper, bronze, and brass all pour well into sand molds. High-melting-point metals would wreck a steel die. Sand casting handles them without issue. That heat tolerance is a real advantage for specialty alloys.
Die casting works with a shorter list. The process centers on aluminum, zinc, and magnesium. These alloys melt at lower temperatures. They also flow well under pressure. That makes them ideal for high-speed injection. Aluminum leads in production volume. Zinc is the go-to for fine detail work. Magnesium steps in where weight is the main priority.
Here’s a clear breakdown:
-
High-melting-point alloys (iron, steel, bronze) → sand casting is the only option
-
Aluminum → works in both; die casting is preferred at high volume
-
Zinc and magnesium → die casting is the right fit
Run zinc or magnesium through a sand mold and you’ll get a usable part. Run steel through a die casting machine and you’ll get a repair bill instead.
Production Volume & Unit Cost: Which Process Wins?
Volume changes everything.
Run 50 parts through sand casting and the economics are clean — low tooling, low commitment, no regrets. Run 50,000 parts through sand casting and you’ve left serious money on the table. The winning process isn’t about preference. It comes down to how many units you’re making.
Here’s where the lines cross: sand casting holds the cost advantage below 500 units. Die casting takes over above 10,000. Between those two numbers — the 500 to 10,000 range — you’re running a break-even analysis, not picking a favorite.
The Math Behind the Crossover
Tooling is a fixed cost. Sand casting tooling is cheap enough that it adds almost nothing to a small-batch budget. Die casting tooling is a real number. Your first few thousand parts go toward paying off the mold. Profit comes after that.
The formula is direct: divide your fixed costs by your contribution margin ratio. At $20,000 in fixed costs with a 40% contribution margin, you need $50,000 in sales to break even. That’s the real threshold where die casting starts earning its keep.
Past that point, die casting’s per-unit cost drops fast. Fixed tooling spreads across a larger output base. At 100,000 units, those tooling costs shrink to near zero per piece.
Cycle Time Multiplies the Advantage
The per-unit cost gap isn’t only about tooling. Speed plays a big role too.
|
Process |
Cycle Time Per Unit |
|---|---|
|
Die Casting |
Seconds to minutes |
|
Sand Casting |
30 minutes to hours |
At high volume, that speed gap compounds fast. Die casting produces consistent parts at a pace sand casting cannot match. Every hour of production time costs money — labor, energy, overhead. Faster cycles push total cost per unit lower. Not just tooling amortization — the whole cost structure shifts.
The decision breaks down cleanly:
-
Prototype or small batch? Sand casting wins.
-
Scaling past 10,000 units per year? Die casting pays for itself — and then some.
Part Size & Geometry Complexity: What Each Process Handles Best
Size and geometry aren’t secondary considerations. They’re often the deciding factor — before cost or volume even comes up.
Die casting works within a specific size window. Parts run from a few grams up to around 50 kg. Inside that range, the process handles geometry that’s hard to match any other way. Think walls as thin as 0.5–2 mm, integrated cooling fins, tight internal channels, and undercuts managed through slide mechanisms. Engine blocks in the 2–20 kg range are a classic example. Thin walls, complex geometry, consistent tolerances — die casting produces them at speed.
Sand casting is a different story. There’s no real upper size limit the way die casting has one. Valve bodies at 50–500 kg, pump housings pushing 1,000 kg, mining equipment reaching 5 tons — sand casting handles all of it. Large, irregular shapes with internal cavities built from sand cores? That’s where this process earns its place.
The tradeoff is wall thickness. Sand casting needs a minimum of 3–5 mm to fill well. Fine detail and thin-wall geometry are off the table.
|
Die Casting |
Sand Casting |
|
|---|---|---|
|
Max Part Size |
~50 kg |
Several tons |
|
Min Wall Thickness |
0.5 mm |
3–5 mm |
|
Complexity Strength |
Thin walls, fine detail |
Large irregular shapes, internal cavities |
Got a large, complex part with internal cavities and irregular geometry? Sand casting is built for that job. Got something compact with tight detail and thin walls? Die casting is the process that delivers.
Pros and Cons Side-by-Side Summary
Where the Structural Numbers Matter
Porosity is not just a cosmetic issue. It hurts load-bearing reliability in a real, measurable way.
Die casting holds fatigue strength at 200–300 MPa for aluminum alloys. Sand casting reaches 100–200 MPa after post-processing. In high-stress applications, that defect gap cuts reliability by 20–30%. That’s a gap your design cannot afford to ignore.
The production speed difference is just as sharp. Die casting puts out 600 parts per hour. Sand casting manages 60. That’s a 10x difference. At scale, it hits your cost per unit hard.
-
Die casting cost per part: $0.50–$5 at high volume
-
Sand casting cost per part: $2–$20 at low volume
No single process wins in every situation. Die casting leads on precision, speed, and volume. Sand casting wins on flexibility, material range, and low upfront cost. Pick the process that fits what your project needs.
Sand Casting vs. Die Casting: How to Choose the Right Process
Numbers choose the process. Preference doesn’t.
Start with volume. Sand casting makes financial sense under 300 units. Die casting becomes cost-effective at 500 units and above. The true break-even for most parts falls between 500 and 2,000 units — once you count secondary operations.
Here’s what that looks like on a real part:
-
Sand casting: $35/part — casting $12, machining $18, surface prep $5
-
Die casting: $13/part — casting $8, machining $4, surface prep $1
Count all secondary work, and the break-even hits 1,273 parts. Below that, sand casting protects your budget. Above it, die casting pays back its tooling cost — and keeps saving you money.
Two factors drive that $22 gap more than anything else:
First, machining time. The same housing part takes 25 minutes to machine from a sand casting. From a die casting, it takes 6 minutes. At $35/hour, that’s $14.58 versus $3.50 — per part, every part.
Second, scrap rates. Sand casting runs 5–15% defects. Die casting holds at 2–5%. Sand casting defects — porosity, inclusions, shrinkage cavities — often don’t show up until after machining. That’s wasted cost on work you’ve already paid for.
Use this as your decision filter:
|
Scenario |
Right Process |
|---|---|
|
Prototypes or under 300 units |
Sand casting |
|
Complex internal geometry or undercuts |
Sand casting |
|
Ferrous metals or specialty alloys |
Sand casting |
|
Part size exceeds 50 kg |
Sand casting |
|
Volume above 500 units |
Die casting |
|
Tolerances of ±0.002″–0.005″ required |
Die casting |
|
Surface finish critical, machining costs must stay low |
Die casting |
|
Aluminum, zinc, or magnesium acceptable |
Die casting |
Here’s a cost driver that most buyers miss until it’s too late: CNC machining expenses run 3–5x higher with sand-cast parts. Every grinding pass, every inspection, every finishing step adds up. At low volumes, your budget can absorb it. At scale, it eats your margin fast.
Match the process to your volume, your alloy, and your tolerance requirements. Those three factors settle everything else.
Conclusion
Sand casting vs. die casting — it’s not about which one is better. It’s about which one fits your specific situation.
Low volume run? Complex geometry? Oversized parts? Sand casting gives you flexibility without the tooling bill. Need thousands of identical, tight-tolerance components with a clean surface finish? Die casting earns its cost back fast.
Three decisions drive the difference between sand casting and die casting:
-
How many parts do you need?
-
How precise do they have to be?
-
What are you willing to spend upfront?
Lock in those three answers. The right process becomes clear on its own.
Still weighing your options? Talk to a casting engineer before you commit. The wrong choice at the quoting stage is an expensive lesson. The right choice? That’s a competitive advantage built into every single part you ship.